Showing posts with label shonamigurumi. Show all posts

Monday, 4 March 2013

The Very Hungry Caterpillar

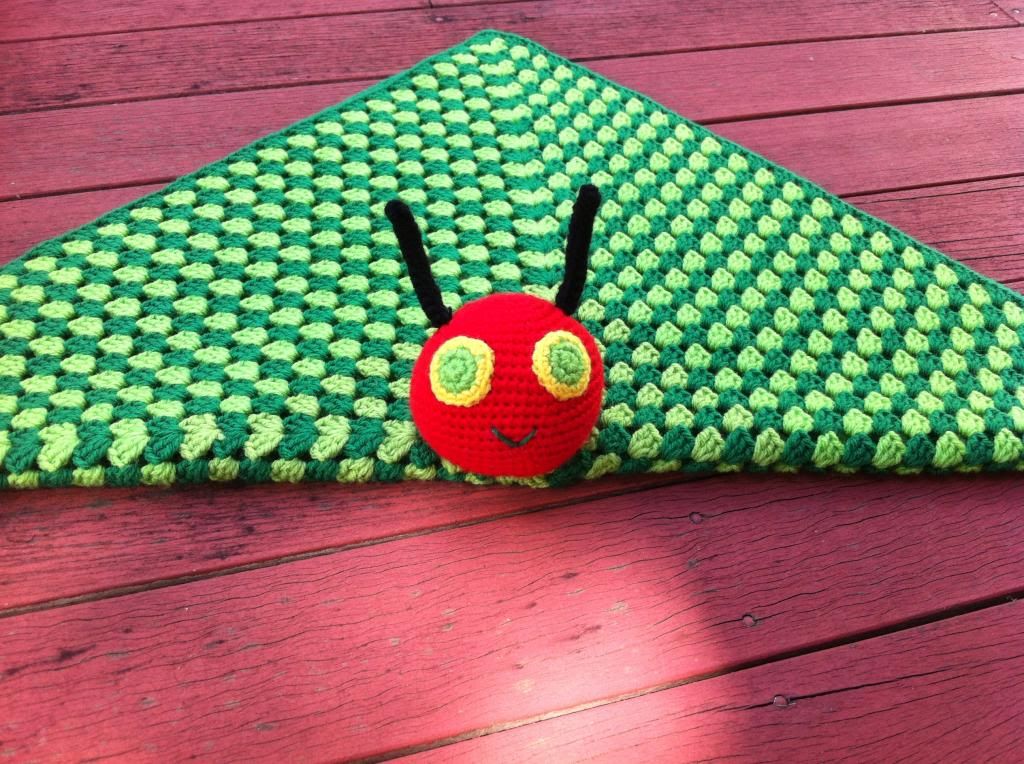
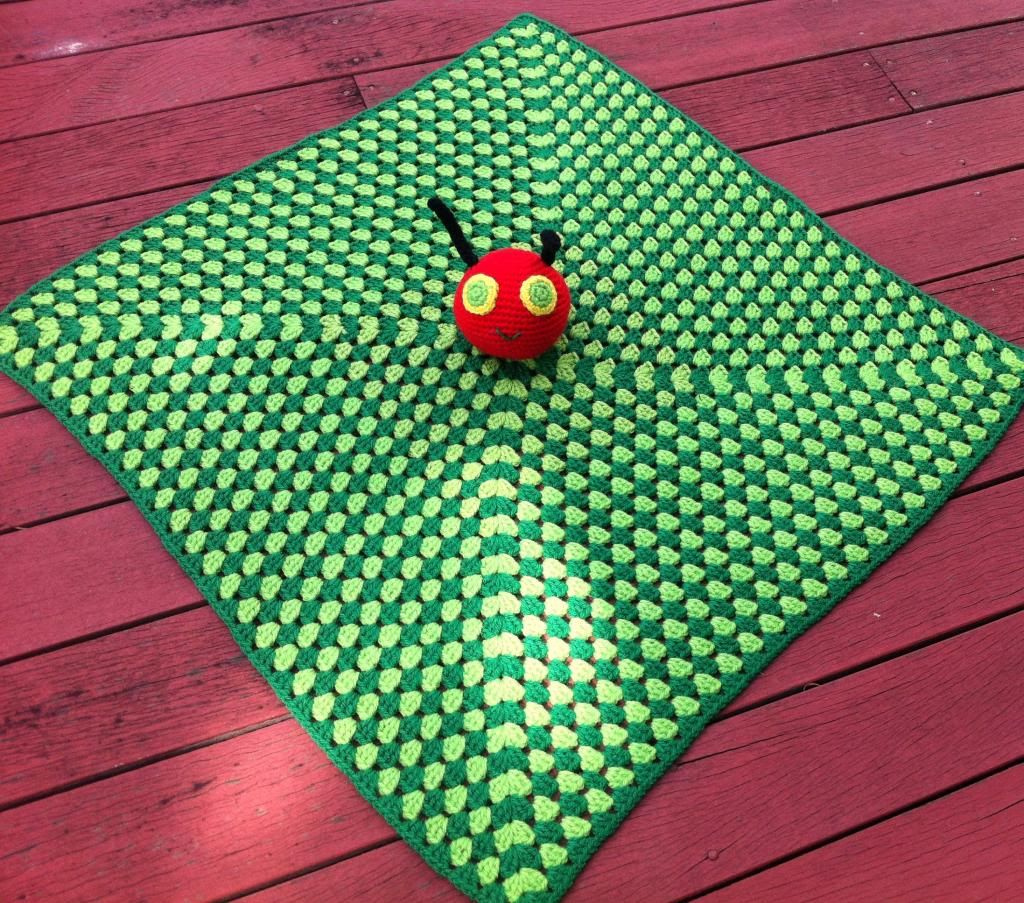
I recently became an Aunty to the most beautiful boy that has ever graced this earth (ok, so I'm a bit biased).  My mum was telling me that she was reading The Very Hungry Caterpillar book to him and he was engaging with the book and the colours.  He's only 5 months old but this is terribly exciting and I wanted to make him a little security blankey that he could have for keeps, or until he gets bored with it. Either or.

I saw someone on Instagram had made one but I cannot for the life of me remember who it was so I can't credit them with the inspiration unfortunately.

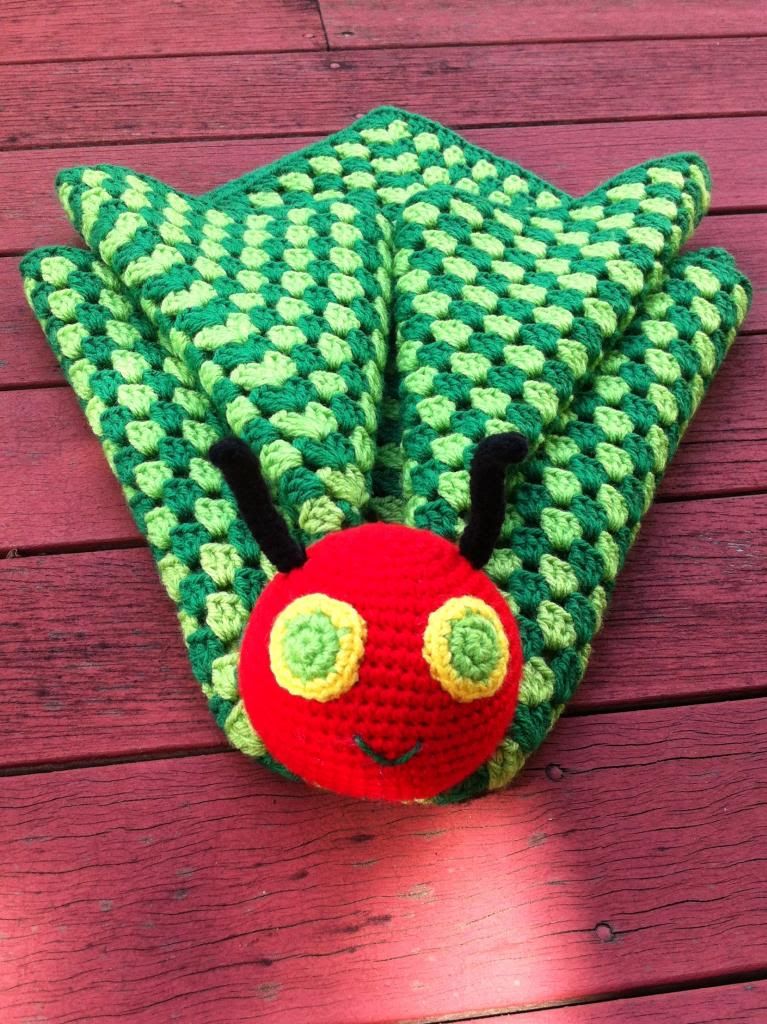
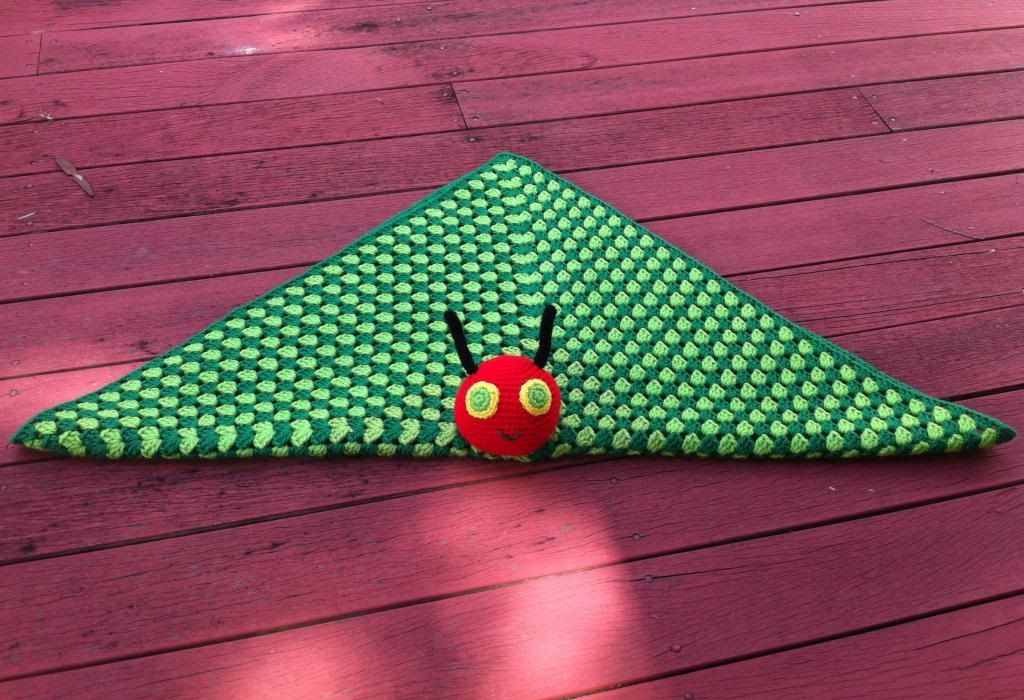
The method I used is very simple, just a big granny square and an amigurumi head of my own design.  The head is sewn on to the blanket with black yarn.  I blocked the blanket before sewing the head on to make it softer and drapier.  See that? I just made up a word.  I have to say, I think it turned out pretty well.  It still needs a little fine tuning but I already have an order for another one so I know where to do things differently. Make sure I have yarn in all the same shades for example.  You can't see it in the pictures but the first few rounds of light green are different to the rest.

Have some pictures!


Details for fellow hookers: 4mm hook used for blanket, 3.5mm hook for amigurumi head and 100% acrylic DK yarn.  Blanket measures approx 56cm x 56cm after blocking.

I'd love some feedback dear readers :)


Tuesday, 26 February 2013

Miss & Master Quick Chick

I sat down last night to make a quick ami, without really having any idea of what I wanted to make.  Great designer I am!  Anyway, some yellow yarn and a pair of safety eyes later..........I was stuck.


I put the call out on Instagram and Tumblr for suggestions, got a several responses and Quick Chick was born.  I am going to make all of the suggestions that got thrown in, they're great!

After a few failed attempts at the beak, wings and feet; here is how she turned out.


She works up quickly and the little bow is just glued on.  I reckon she could be made in an evening in front of the chattering cyclops.

ETA: I couldn't help myself and made a little Master to go with Miss.  Isn't he dapper?


If you would like to make your own Miss & Master Quick Chick, click here!


Thursday, 7 February 2013

Photography

I've been a keen photographer for many years, since I was a teen really.  I don't have a spectacular camera, although I will one day!  The camera I use for photographing my crochet is my my trusty iPhone 4.  I have another point-and-shoot digital camera but it doesn't take very good close ups, they are too grainy.  A little bit tragic that the best camera I own is in my phone (yeah yeah, first world problems *lol*).

When I first started making amigurumi, I would photograph them in my bedroom.  It had good natural light, although I did have to time it around when the sun was shining into the room, otherwise I'd end up with over-exposed shots.  I used to use our doona cover as the background, not having anything else at hand.  After a while I started using a neutral coloured sheet as the backdrop when I realised I had a sheet set that doesn't get used.  If I did a very close shot, you could see the threads of the fabric which I didn't really like.

Very recently I made my own light tent.  I'm so pleased with it because now I don't have to photograph in the daytime, I can takes pics whenever I want and for the most part they turn out pretty good.  It was ridiculously cheap to make, the only thing I had to buy was a sheet of white cardboard.

I used an old cardboard box from when we moved house a few months ago and cut windows out of 3 sides.  At the front, I cut away all the cardboard except for a small strip along the bottom.  I use cheap pillows for stuffing my ami's and for some reason I hung on to the fabric the stuffing was in.  It turns out it's really good as a light diffuser!  The piece across the top is fixed on with blu-tack and sticky tape and the side pieces are just stuck on with blu-tack at the top so I can add side lighting if I want.

DIY light tent waiting patiently to serve it's purpose :)


As you can see it sits on a dining chair with a flexible reading light above it.   Very low budget here (as happens when you don't have a paying job)!  Sometimes I grab another reading light to help things along if the shadows are too pronounced.  I love this little thing, it has improved my photo quality a lot.  Now I have visions of another 2 lights on the sides and different coloured backgrounds to show of my crochet goodies!

Photographing crochet can take ages.  Sometimes I can get the images I want with only a couple of shots, other times, it might be 30 or more before I give up in frustration and make the best of what I have.

Got a question or a comment?  I'd love to hear it!

Saturday, 2 February 2013

My Creative Process

An enormous amount of work goes in to creating something new and getting it out into the world.  I have a folder that has a graph book and note paper in it for my pattern writing ideas and designs.  The graph paper is useful for giving me an idea on where to start increasing and decreasing. I tend to write a pattern as I'm hooking it and as a result, it ends up being several pages long and notes all over the place.  It would be seriously confusing if someone else were to look at it!

My amigurumi folder with note paper and graph book.

It takes me about a month from inception to finished product.  During this time I draw, erase, draw, erase, draw, erase, choose colours, change my mind, change it back again then start hooking, writing and taking photo's.  Sometimes while I'm making it, I have to frog it because it just isn't turning out the way I want it to.  This isn't a bad thing, it's just frustrating.  I wish I could get it right first time!  There's lots of crossing out of notes and scribbles all over the place and usually a fair bit of cursing and happiness, sometimes in the same breath!

Pattern writing progress, looks like a mess!

After I finish stuffing and sewing, it's photo shoot time!  I have a light tent that I made myself for taking pic's (there will be post about that in the next few days).  The photography can be really time consuming.  Using my trusty iPhone 4, I take several shots of the piece from different angles, do close ups and change the pose.  The light also gets shifted around and sometimes moving the piece only a centimetre or two can really make the difference between an okay shot and great one. I might take 30 photo's of a piece and use only a couple.

DIY light tent

When I'm done with taking photo's, I transfer them to my computer and use Picasa 3 to edit the ones I want to use.  I've found that since I've started using the light tent, my photo quality has really improved and I don't need to do nearly as much editing as I did when I was using a sheet as the backdrop.  More on that in the upcoming photography post!

Typing up the pattern comes next, some I sell, others are free.  I use the Open Office suite instead of Microsoft because I am cheap (frugal?).  It's free and word documents can easily be converted to a .PDF.  I like to use PDF's for my patterns online as I can protect the document so it can't be changed or the images copied.  The typing generally doesn't take too long, I add photo's that I have taken during the creating so that  whoever is reading the pattern, has pictures to refer to and it gives them an idea of what it should look like.

After all that is done, the uploading begins!  Pictures of items and patterns that are for sale go on Etsy and Facebook, free patterns go on my blog and Ravelry and the photo's get uploaded to Facebook, Ravelry and right here on my blog.  Sometimes I add them to my Flickr account too but I usually forget  >_<

So there you have it, a run down of how I go about making new stuff and getting it out there.  One of these days I'll get much more organised about getting it all to happen in one hit rather than all over the place.
Tuesday, 29 January 2013

#widn

Even though its going to be hot for another couple of months, I've started my next scarf.  I'm pretty sure I won't be selling it, although if there is any interest I just might!  This is my progress so far, I started it last night and have done another 2 rows this morning.


I bought 2 skeins of yarn for this project thinking it would be enough but I'm not sure it will be, so I'm going back to get more as soon I can get myself organised to get out the door.

P.S. The pattern can be found here.

Wednesday, 23 January 2013

Rainbows and other pretty's

Turns out I like rainbows.  Well, who doesn't right?  What I mean is that I like the colour graduation and frankly, I just like lots of colour so these gorgeous iPhone covers are the latest things to fall off my hook.  I like them so much I'm going to make one for myself.  The ones you see here are for sale through my Etsy store if you want to pick one up! (After 7pm AEST 23/1/13)

They suit iPhone's 3 and 4 that don't have a case on them.  I have a screen protector on mine (iPhone 4) and use a cosy to keep my phone safe from dings and whatnot.  I will be making some slightly larger cosy's to accommodate a case as well in the near future.

I couldn't find a star pattern that quite suited my needs so I wrote a very simple one.   The flower was an unfinished project from something else, but I like how it looked with the cosy so it all of a sudden went from and unfinished object (UFO) to a finished one.


Thursday, 17 January 2013

Retail Therapy

OMG OMG OMG!!!!

I FINALLY OPENED AN ETSY STORE!!  Please go shopping!  All the prices are currently listed in Australian dollars and I need to talk to the post office about international shipping BUT if you see something you like and you're not from Oz and you want it, send me an email and I'll work out how to get it to you!

Portal to Etsy amigurumi heaven...

Oh, and tell your friends please?


Sunday, 13 January 2013

Blah blah blah

It's been insufferably hot here lately.  Yesterday we reached 47.5°C.  That is not cool.  Not cool at all.  Our poor air conditioner has been working overtime to keep us at a reasonable temperature.

I suffer from cranial flatulence at the best of times and with this crazy heat, my brain has just packed up and headed off for cooler climes.  I wish it would take my body with it!  I've been all over the place trying to get my online store set up and fiddling with my patterns, few though they may be, to get ready for the grand opening.  I built a light tent so I can take a half decent shot for the patterns and finished pieces for sale.  Along with all that I'm madly trying to get my newest pieces finished so I can add them to the store as well.

I must say, I'm very pleased with the light tent and it will only take a little more tweaking before I can leave it alone to serve it's purpose.

Today I'm giving myself a break and making something from the fabulous June Gilbank of Planet June's collection of critters.  Pic's will be up when it's finished!